Spring Boot 学习(一)
1. Hello World
下载Maven并配置好,配置好Idea,以上两个都完成之后,便可以创建一个新的Maven项目
第一步:
编写Maven配置文件pom.xml, 由于我们是一个spring boot项目所以需要导入对应的包,spring-boot-starter-parent是spring boot应用的父级依赖,添加配置代码如下:
1 | <parent> |
第二步:
我们使用spring boot开发web项目,导入spring boot web相关的包,spring-boot-starter-web web开发场景所需要的底层依赖(如Tomcat),配置代码如下:
1 | <dependencies> |
第三步:
创建一个包(在src->main->java下):com.sheng.boot包;创建一个类Class:MainApplication类
第四步:
在MainApplication类下:为该类添加一个注解(@SpringBootApplication),如下:
1 |
|
@SpringBootApplication:这是一个springboot应用,且该类是该应用的主类
第五步:
在MainApplication类下,创建一个main方法,编写启动代码,如下:
1 |
|
第六步:
新建一个controller(com.sheng.boot.controller)包
第七步:
在controller中创建一个类HelloController,用于编写业务(接口)
第八步:
编写业务需求,使用@RestController标注该类,其他与springmvc保持一致,如下:
1 |
|
第九步:
回到MainApplication类下,执行main方法,出现如下情况表示启动成功: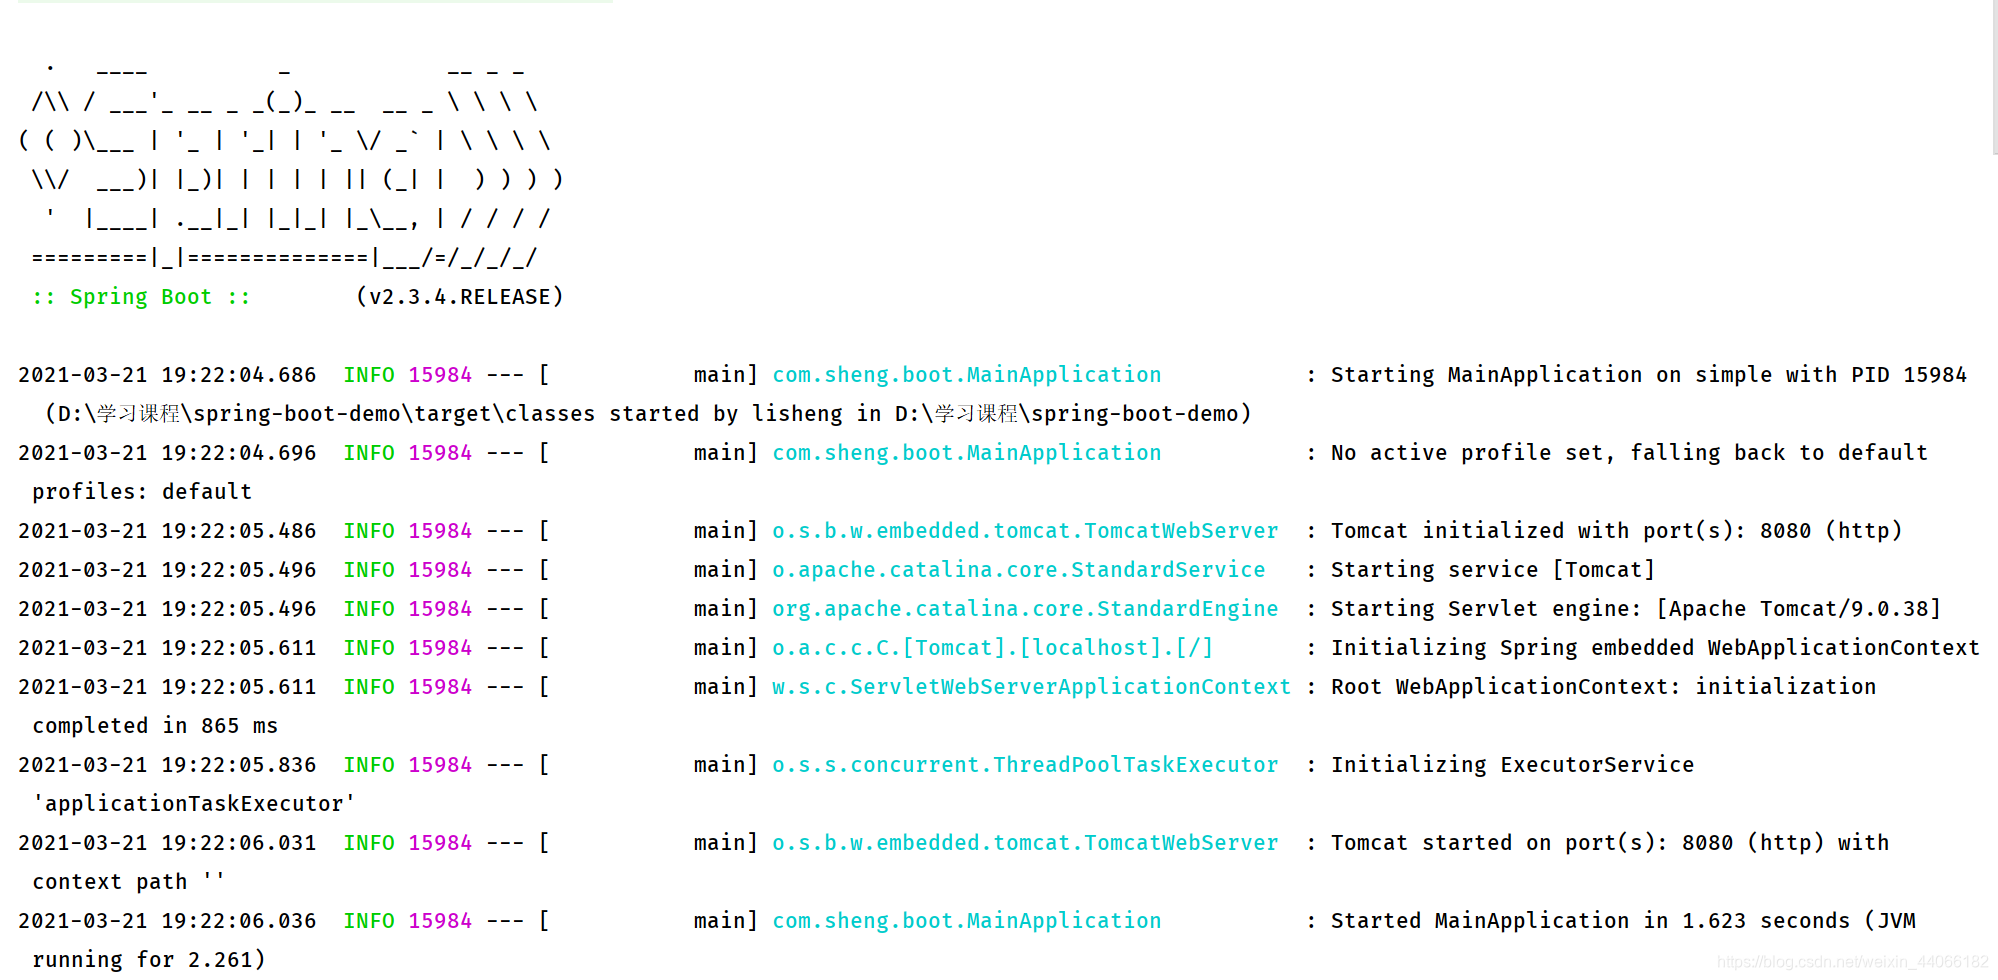
第十步:
浏览器访问: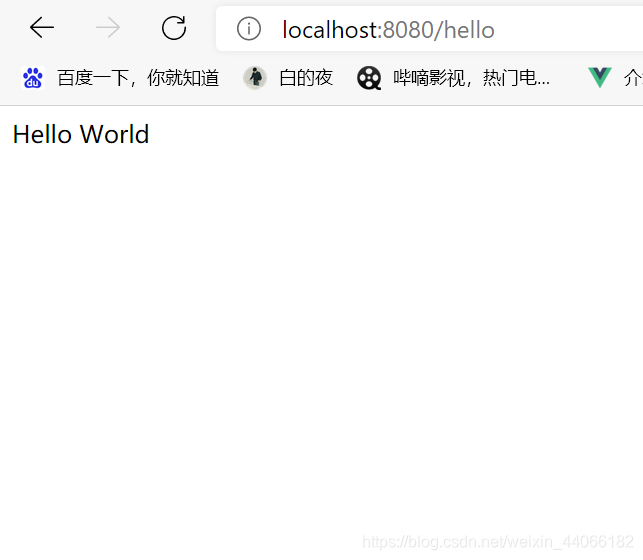
2. Spring Boot中的配置文件
springboot中只有一个配置文件,需要我们新建:
在src->main->resources目录下新建一个application.properties文件
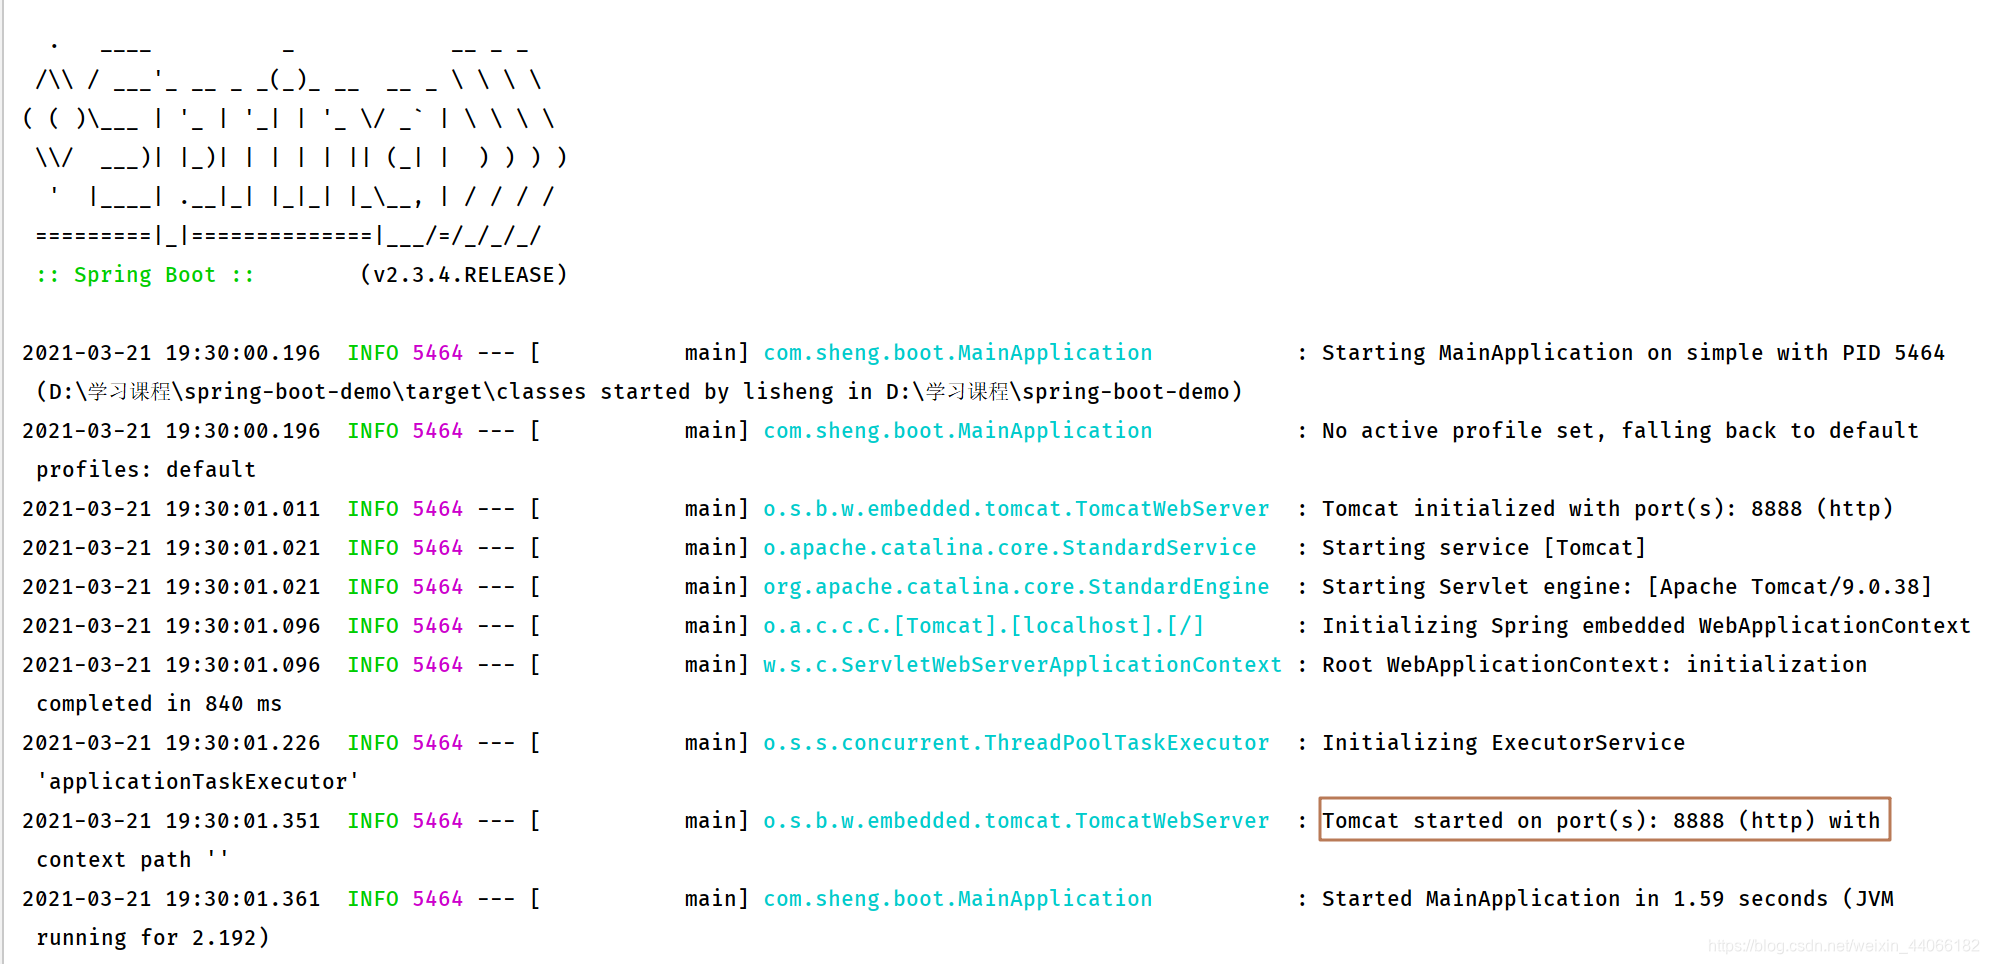
我们可以简单的配置一下,如修改端口,如下: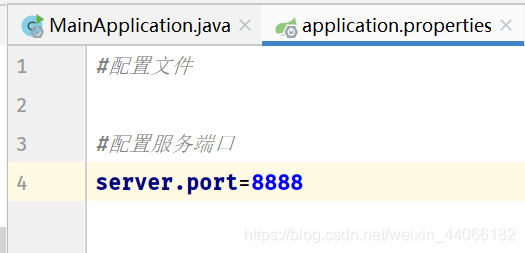
重启之后端口变了,如下: