Spring Boot 学习一
Spring Boot 学习(一) 1. Hello World
下载Maven并配置好,配置好Idea,以上两个都完成之后,便可以创建一个新的Maven项目
第一步: 编写Maven配置文件pom.xml, 由于我们是一个spring boot项目所以需要导入对应的包,spring-boot-starter-parent是spring boot应用的父级依赖,添加配置代码如下:
1 2 3 4 5 <parent > <groupId > org.springframework.boot</groupId > <artifactId > spring-boot-starter-parent</artifactId > <version > 2.3.4.RELEASE</version > </parent >
第二步: 我们使用spring boot开发web项目,导入spring boot web相关的包,spring-boot-starter-web web开发场景所需要的底层依赖(如Tomcat),配置代码如下:
1 2 3 4 5 6 <dependencies > <dependency > <groupId > org.springframework.boot</groupId > <artifactId > spring-boot-starter-web</artifactId > </dependency > </dependencies >
第三步: 创建一个包(在src->main->java下):com.sheng.boot包;创建一个类Class:MainApplication类
第四步: 在MainApplication类下:为该类添加一个注解(@SpringBootApplication),如下:
1
2
3
4
@SpringBootApplication public class MainApplication .... }
@SpringBootApplication:这是一个springboot应用,且该类是该应用的主类
第五步: 在MainApplication类下,创建一个main方法,编写启动代码,如下:
1
2
3
4
5
6
7
@SpringBootApplication public class MainApplication public static void main (String[] args) SpringApplication.run(MainApplication.class,args); } }
第六步: 新建一个controller(com.sheng.boot.controller)包
第七步: 在controller中创建一个类HelloController,用于编写业务(接口)
第八步: 编写业务需求,使用@RestController标注该类,其他与springmvc保持一致,如下:
1
2
3
4
5
6
7
@RestController public class HelloController @RequestMapping("/hello") public String handle () return "Hello World" ; } }
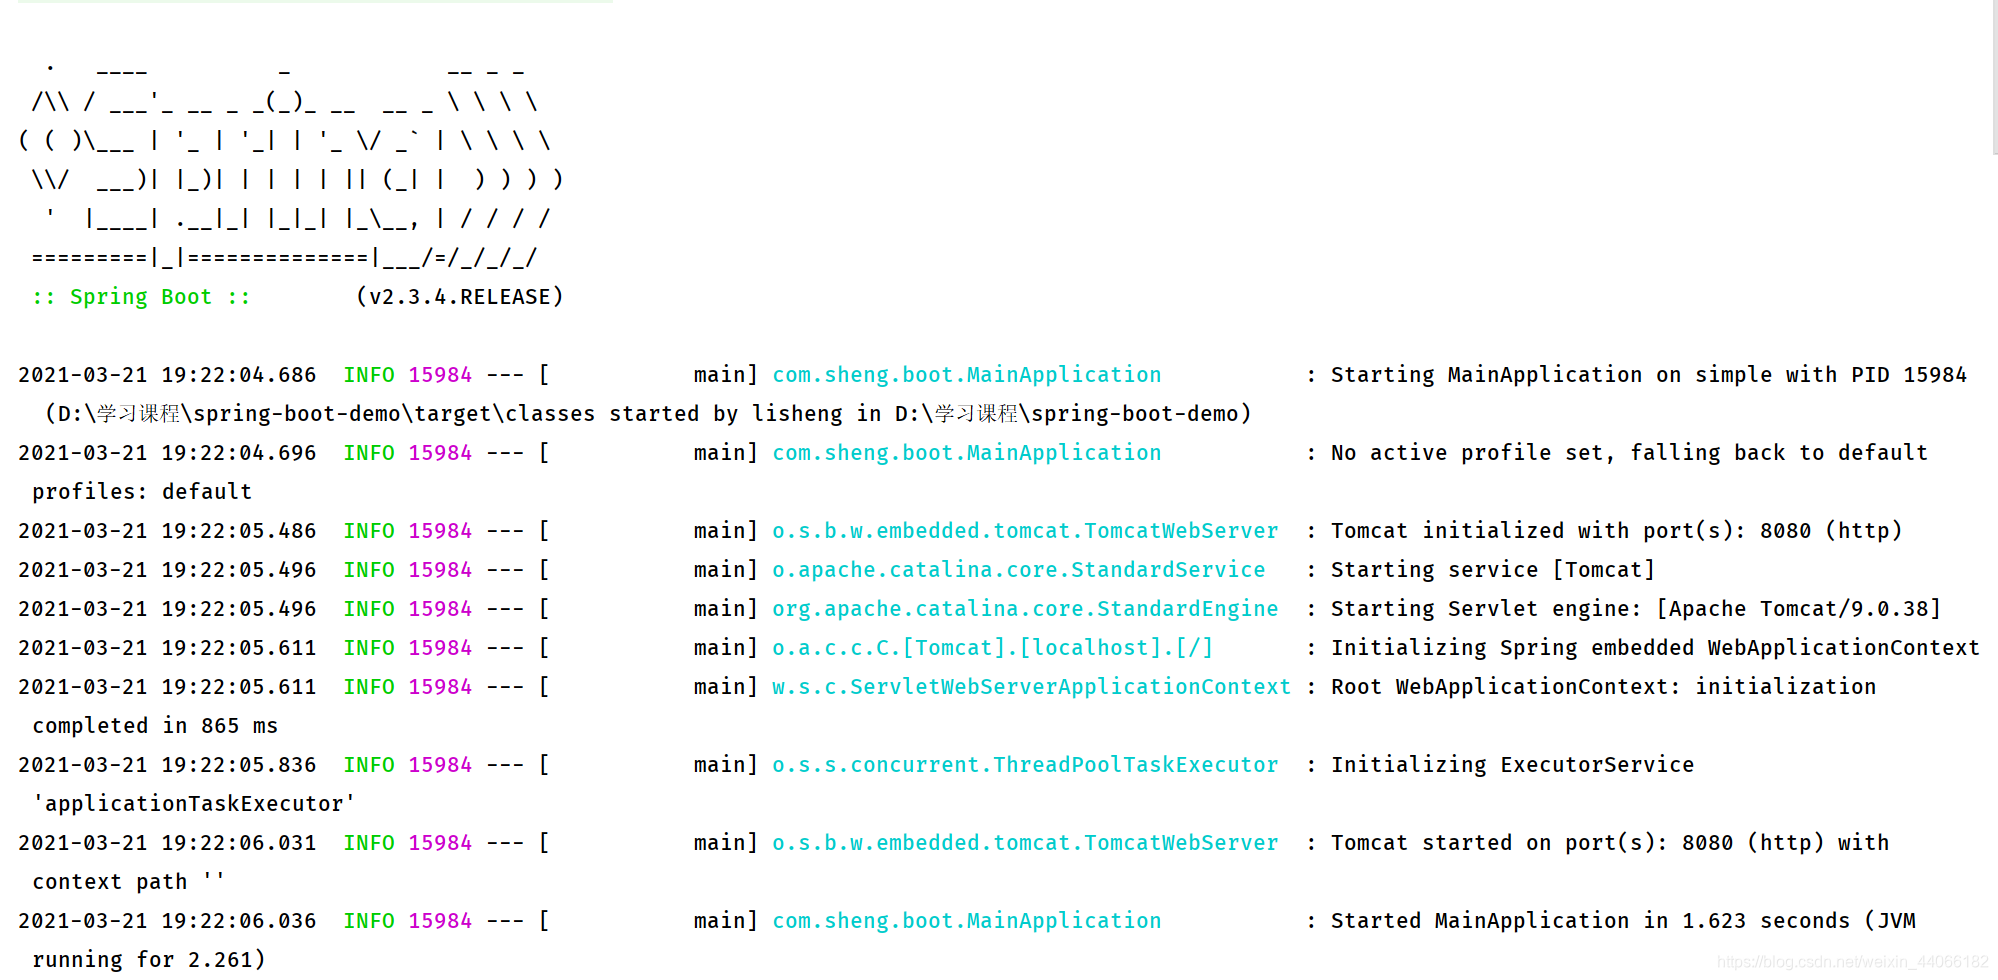
第九步: 回到MainApplication类下,执行main方法,出现如下情况表示启动成功:
第十步: 浏览器访问:
2. Spring Boot中的配置文件 springboot中只有一个配置文件,需要我们新建:
Hello World
Welcome to Hexo ! This is your very first post. Check documentation for more info. If you get any problems when using Hexo, you can find the answer in troubleshooting or you can ask me on GitHub .
Quick Start Create a new post 1 $ hexo new "My New Post"
More info: Writing
Run server More info: Server
Generate static files More info: Generating
Deploy to remote sites More info: Deployment


